
How to Pattern a Buck Before the Opener
Patterning a mature buck before the opener is less about luck and more about precision. It’s about reading terrain, tracking movement, minimizing intrusion, and gathering intel that translates into a daylight encounter. Whether you’re hunting velvet whitetails in Kentucky or targeting a bachelor group in Missouri, the work you do 30–60 days before the season often determines your success.
This guide breaks down how to pattern a buck before the opener—step by step, tool by tool.
🧭 Step 1: Terrain Mapping & Digital Scouting
🧠 Goal: Identify likely bedding, feeding, and transition corridors before stepping foot on the ground.
📍 Key Tools:
-
OnX, HuntStand, BaseMap (with slope, vegetation, and parcel layers)
-
Aerial + topo combo maps to identify benches, pinch points, ridge saddles
-
Historical trail cam data or observations from last season
🎯 Look For:
-
South-facing slopes with thermal cover = early season bedding
-
Ag field corners, oak flats, or alfalfa = early feed
-
Creek crossings, logging trails, edge habitats = transition zones
🎙️ “I find 80% of my hunting spots in June—without leaving my laptop. Terrain and access dictate almost everything.”
— Trevor S., Nebraska Public Hunter
📸 Step 2: Trail Cam Strategy with Minimal Pressure
🧠 Goal: Identify patterns without educating the buck.
📍 Camera Tactics:
-
Use cell cams where legal to avoid intrusion
-
Place cams on feed-to-bed trails, not directly on bedding
-
Hang cameras high and angled downward to reduce alerting mature bucks
-
Focus on field edges, waterholes, and main travel corridors during late July and August
🎯 Settings: 3-shot burst, low sensitivity, 30-second delay, photo + time stamp
🛠️ Advanced Tip: Use time-lapse mode on field edges to capture full patterns
🎙️ “If you put a cam in the core zone, you might get one photo—and then nothing. Keep cams outside the red zone.”
— Brian L., Ohio Bowhunter
👣 Step 3: Glassing & Pattern Confirmation
🧠 Goal: Confirm movement windows and consistency without altering behavior.
📍 Best Times:
-
6:30–8:30PM in late July to mid-August
-
First and last 30 minutes of light on clear, high-pressure evenings
📍 Glassing Spots:
-
Elevation advantage: ridgelines or opposing field edge
-
Downwind side of entry points
-
Use of standing corn, hay bales, or terrain features for cover
🎯 Essential Gear:
-
10x or 12x binos on a tripod
-
Spotting scope for long-range velvet ID
-
Rangefinder for mapping entrance and exit trails
🎙️ “Glassing taught me more than cameras ever did. I watched a buck skirt the edge of a field five nights straight—never hit the beans once.”
— Mason D., Iowa
🕓 Step 4: Time + Wind = Predictability
🧠 Goal: Turn random sightings into a huntable pattern.
📍 Variables to Track:
-
Entry/exit times from feeding area
-
Wind direction per night = movement changes
-
Pressure days (mowing, ATVs, neighbors) vs. low disturbance days
-
Thermals: rising on calm mornings, dropping fast after sunset
🎯 Pattern Types:
| Pattern Type | Example |
|---|---|
| “30-minute Field Edge Buck” | Consistently hits beans 30 mins before dark |
| “Drainage-to-Saddle Traveler” | Beds low, moves through saddle to feed |
| “Skirt-and-Scan Cruiser” | Never feeds, scans for does from edge lines |
🎙️ “If you can match the wind the buck used the last three times he moved in daylight—you’re already inside his playbook.”
— Jenna R., Kansas
🔥 Step 5: Set Your Trap, Then Stay Out
🧠 Final Goal: Position yourself to intercept on Opening Day or first high-odds evening—without burning the spot.
📍 Checklist Before Opener:
-
Entry route: Can I walk in wind-safe and silent?
-
Exit route: Can I leave undetected if it doesn’t work?
-
Tree/stand: Can I draw and shoot without being silhouetted or winded?
-
Backup plan: What if he shifts pressure-wise opening weekend?
🛠️ Stand Setup Tips:
-
Hang stands at least 10 days pre-opener to allow scent to dissipate
-
Trim lanes surgically—too much cutting alters behavior
-
Check your camera from a distance with binoculars or cell link
🎙️ “The biggest buck I’ve ever tagged came on Day 1—not because I hunted him hard, but because I didn’t.”
— Tyrel M., Kentucky Velvet Hunter
📦 Pack Essentials for Pre-Season Patterning
| Item | Why It Matters |
|---|---|
| Cellular trail cameras | Stay updated without alerting bucks |
| Tripod-mounted binoculars | Extended, steady glassing sessions at dusk |
| Wind puffer + milkweed | Map thermals and daily scent flow |
| Quiet rangefinder | Pre-mark trails and bedding lines |
| Bug spray + seat pad | Make extended sits tolerable while glassing |
📣 Resources & References
-
Apps: OnX Hunt, HuntStand, BaseMap Wind Cone
-
Communities: Midwest Whitetail Forum, Southern Whitetail Intel, Mobile Hunters Collective
-
Videos: The Hunting Public – Summer Scouting 101, Whitetail Edge – Bedding to Feed Tactics
💡 Pro Tip: Let your eyes, not your feet, do the early season work. Pattern from afar, act precisely, and your opener will be more than just hopeful.
🌟 Final Shot: The Hunt Starts Weeks Before You Climb In
Patterning isn’t just finding where a buck walks. It’s understanding why he walks there, when he moves, and how he reacts to pressure. Preseason is the perfect time to let him write the script—so you know exactly when to enter the story.
“You don’t kill bucks in September. You kill them in July—with a pair of binos and a quiet bootprint.”
Leave A Comment
Related Posts
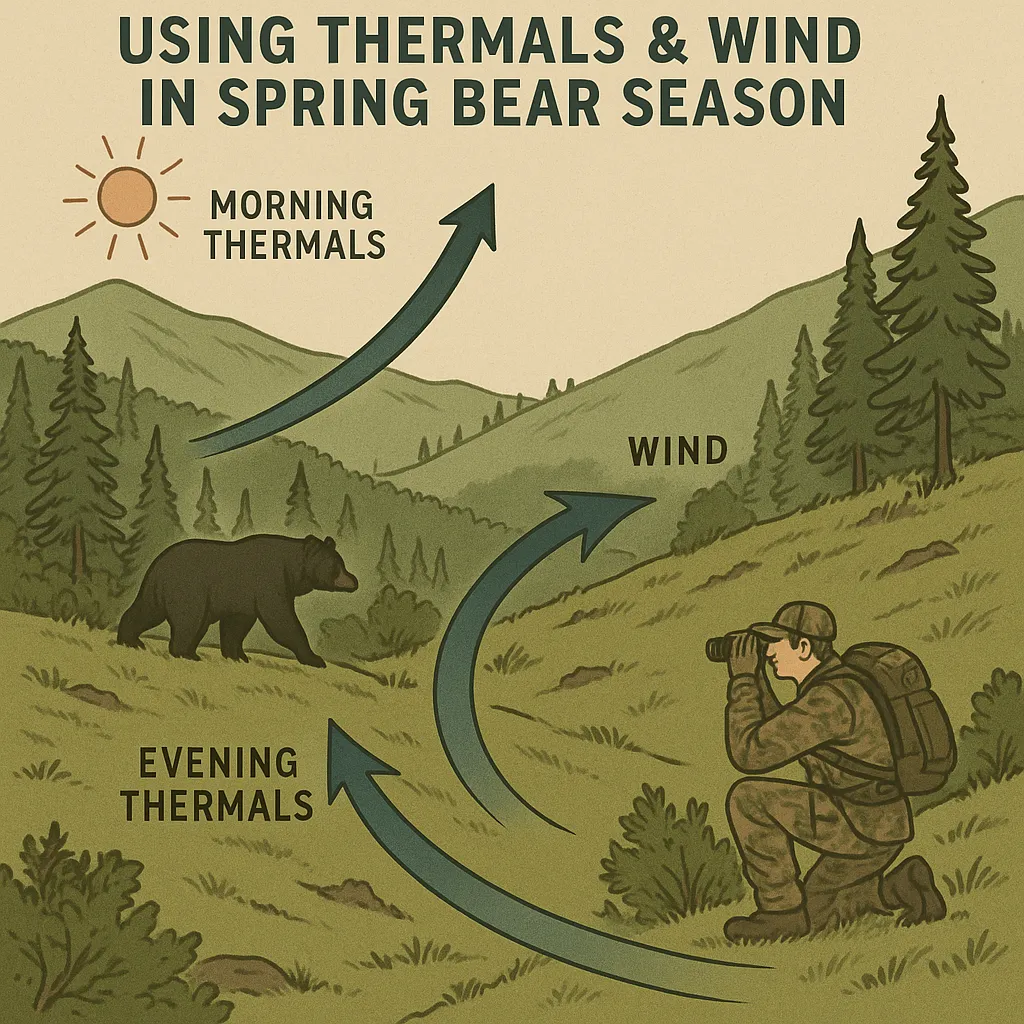
Using Thermals & Wind in Spring Bear Season In spring […]
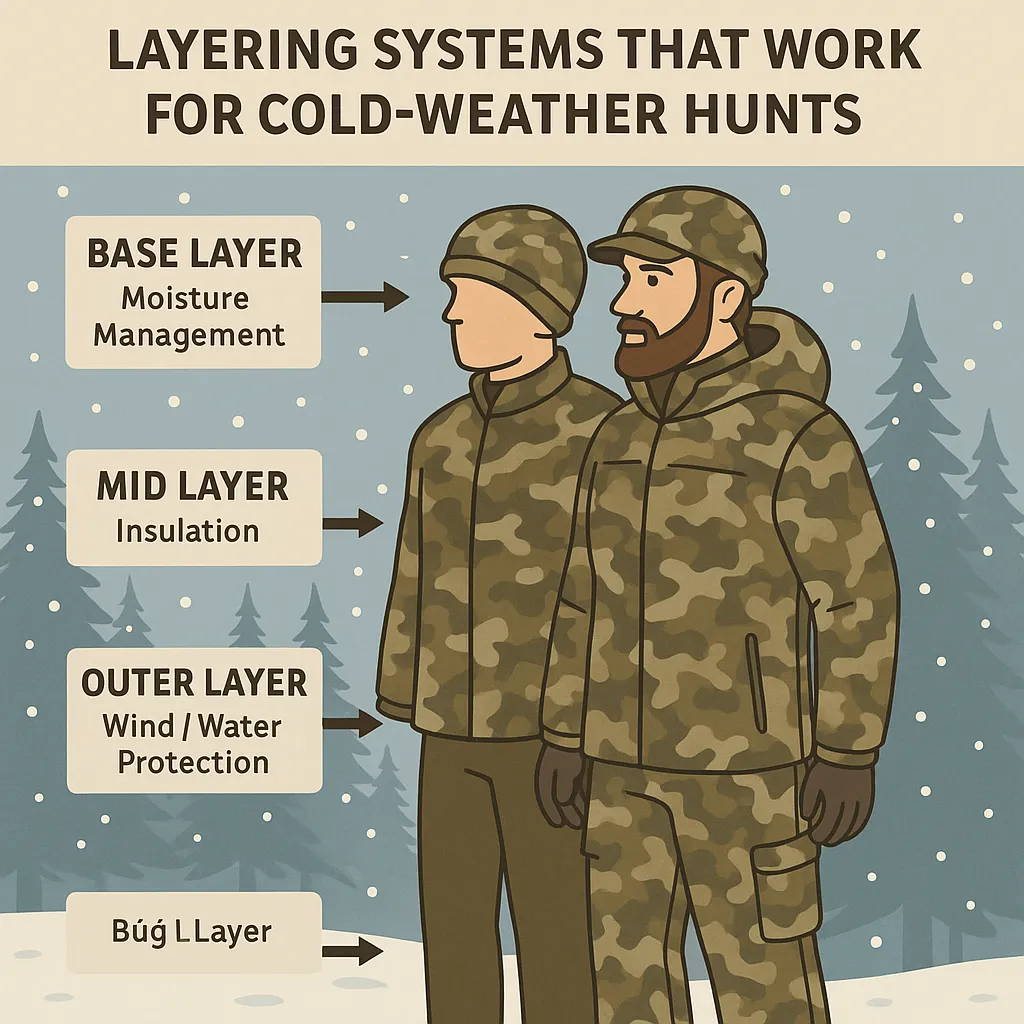
Layering Systems That Work for Cold-Weather Hunts When the mercury […]
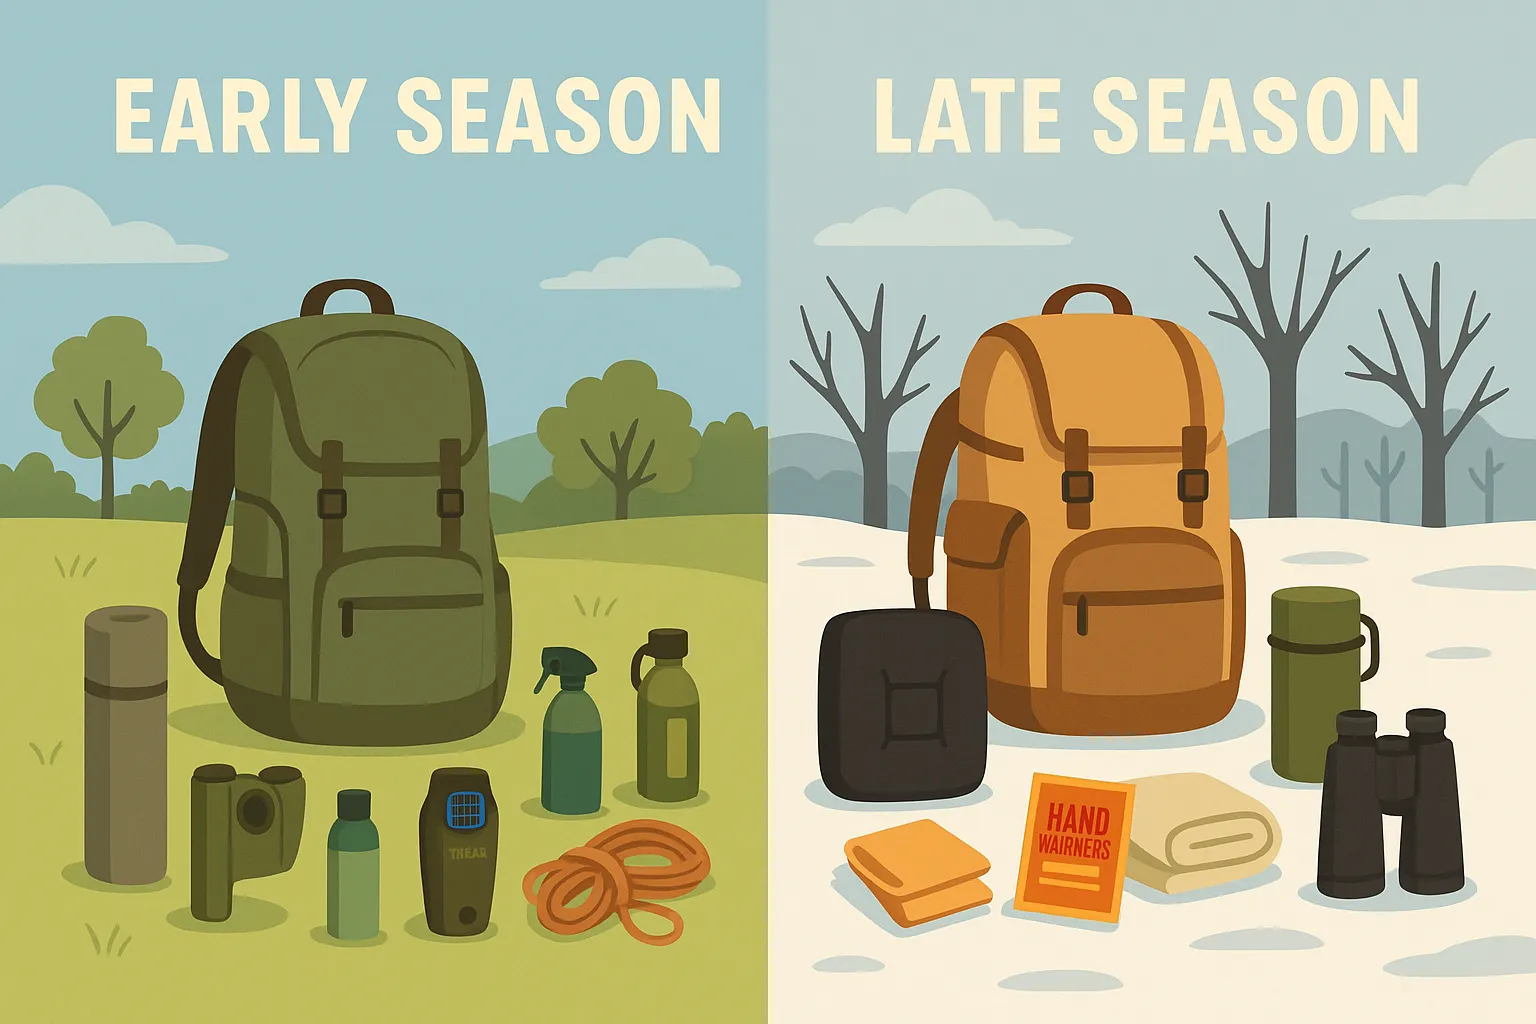
What’s in My Pack: Early Season vs. Late Season Essentials […]
