
Trail Cam Strategy by Season: When & Where to Set Up
Trail cameras are your silent scout. But to get real value from them, you have to adjust when and where you deploy them—season by season. Whether you’re glassing velvet bucks in July or monitoring scrapes during the rut, timing and placement are everything.
This post breaks down seasonal trail cam tactics that maximize deer movement intel, herd inventory, and hunt prep for every phase of the year.
🌱 Spring (March–May): Inventory, Growth & Movement Mapping
🧠 Why It Matters:
-
Bucks begin antler growth
-
Fawns drop late spring
-
Food sources shift weekly (green-up, ag planting, acorn sprouting)
-
Herd dispersal and travel routes become predictable
📍 Camera Placement:
-
Field edges near early green-up (clover, wheat, browse)
-
Mineral licks (if legal in your state)
-
Logging roads and main trails near fawning zones
🎯 Camera Strategy:
-
Use time-lapse mode to scout green fields at dawn and dusk
-
Set cams on main corridors and open field corners
-
Don’t expect big bucks—focus on general movement and population health
🎙️ “I use spring cams to learn where deer enter fields—not who they are. The bucks show up later, but the pattern starts now.”
— Casey T., Kentucky
🌾 Summer (June–August): Patterning Velvet Bucks
🧠 Why It Matters:
-
Bucks are highly patternable
-
Bachelor groups show regular feeding habits
-
Low pressure allows for optimal data gathering
📍 Camera Placement:
-
Soybean or clover fields
-
Waterholes, creek crossings, shaded trails
-
Salt or mineral sites (where legal)
🎯 Camera Strategy:
-
Use cellular cams to monitor without intrusion
-
Hang cameras high and angled down to avoid detection
-
Check only during mid-day, wind-safe conditions
🛠️ Best Setup: 3–5 cams on food-to-bed corridors, time-lapse for edge watching, normal trigger for trails
🎙️ “Summer cams are for patterns, not pressure. Stay out, stay invisible, and watch velvet bucks build routines.”
— Derek B., Missouri
🍁 Fall (September–November): Rut Intel & Transition Zones
🧠 Why It Matters:
-
Bucks break from bachelor groups
-
Core ranges shrink or shift
-
Pre-rut and peak rut behavior = daylight movement + scrapes
📍 Camera Placement:
-
Mock scrapes and community scrapes
-
Funnels, saddles, and pinch points
-
Inside corners of woods near fields
🎯 Camera Strategy:
-
Move cameras weekly as scrapes heat up
-
Use video mode on scrapes to study approach and direction
-
Pair cams with wind/pressure apps to find daytime vulnerability
🛠️ Prime Rut Setup: Vertical scrape + overhanging branch + camera 5–6 ft high, angled down at 15–20 yards
🎙️ “My best rut hunts came from a 12-second video of a 10-pointer checking a scrape at 2PM. The next day, I was waiting.”
— Shelby R., Ohio
❄️ Winter (December–February): Survival Mode Monitoring
🧠 Why It Matters:
-
Late-season food is king
-
Bucks regroup and move less
-
Cold fronts trigger movement to calories
📍 Camera Placement:
-
Cut corn, brassica plots, or leftover ag
-
South-facing slopes with thermal cover
-
Water sources that don’t freeze
🎯 Camera Strategy:
-
Focus on evening feed zones
-
Use wide-angle cams or time-lapse to monitor food plot edges
-
Pull data for post-season inventory and shed planning
🎙️ “Winter cams tell me who made it, where they feed, and when I should be in that field edge for shed season.”
— Joel M., Wisconsin
📦 Trail Cam Strategy by Season: Quick Reference Table
| Season | Focus | Best Placement | Top Strategy |
|---|---|---|---|
| Spring | Travel mapping & herd size | Green-up edges, mineral sites | Time-lapse on trails + fields |
| Summer | Velvet buck patterning | Food-to-bed routes, beans, water | Cellular cams + mid-day checks |
| Fall | Rut & scrape behavior | Mock scrapes, pinch points | Weekly camera shifts + video mode |
| Winter | Food-source patterning | Cut fields, south slopes, water | Time-lapse on feed, daylight feeding intel |
🧠 Pro Tips for Year-Round Trail Cam Success
✔️ Label SD Cards by Season – Keep fall intel separate from summer data
✔️ Map Every Camera – Use apps like OnX or BaseMap to plot movement and pressure
✔️ Use Lithium Batteries – Better cold-weather life and fewer disruptions
✔️ Hang Cams High – Avoid detection, theft, and false triggers from brush
✔️ Minimize Scent – Always wear gloves and spray your setup area
🎙️ “A trail cam is only as good as its placement and patience. You’re building a picture over time—not chasing instant results.”
— Brent K., Mississippi Delta
📣 Recommended Tools & Platforms
-
Trail Cam Brands: Tactacam Reveal X, Moultrie Edge, Bushnell Cell Core
-
Apps: HuntStand (camera management), Spartan Scout, BaseMap
-
Accessories: Security boxes, strap extenders, SD card organizer, solar panel kits
🌟 Final Shot: Don’t Just Check Cams—Read the Story
A trail cam isn’t just for photos—it’s for patterns. It’s a digital tracker, a movement profiler, and a behavior monitor. But only if you treat it like part of your scouting system, not a shortcut. Adjust your strategy with the seasons, and your cam will tell you exactly when and where to strike.
“Set your camera like you’re setting a trap—not a trailhead selfie.”
Leave A Comment
Related Posts

Women-Specific Hunting Gear That Actually Performs in 2025 Forget the […]
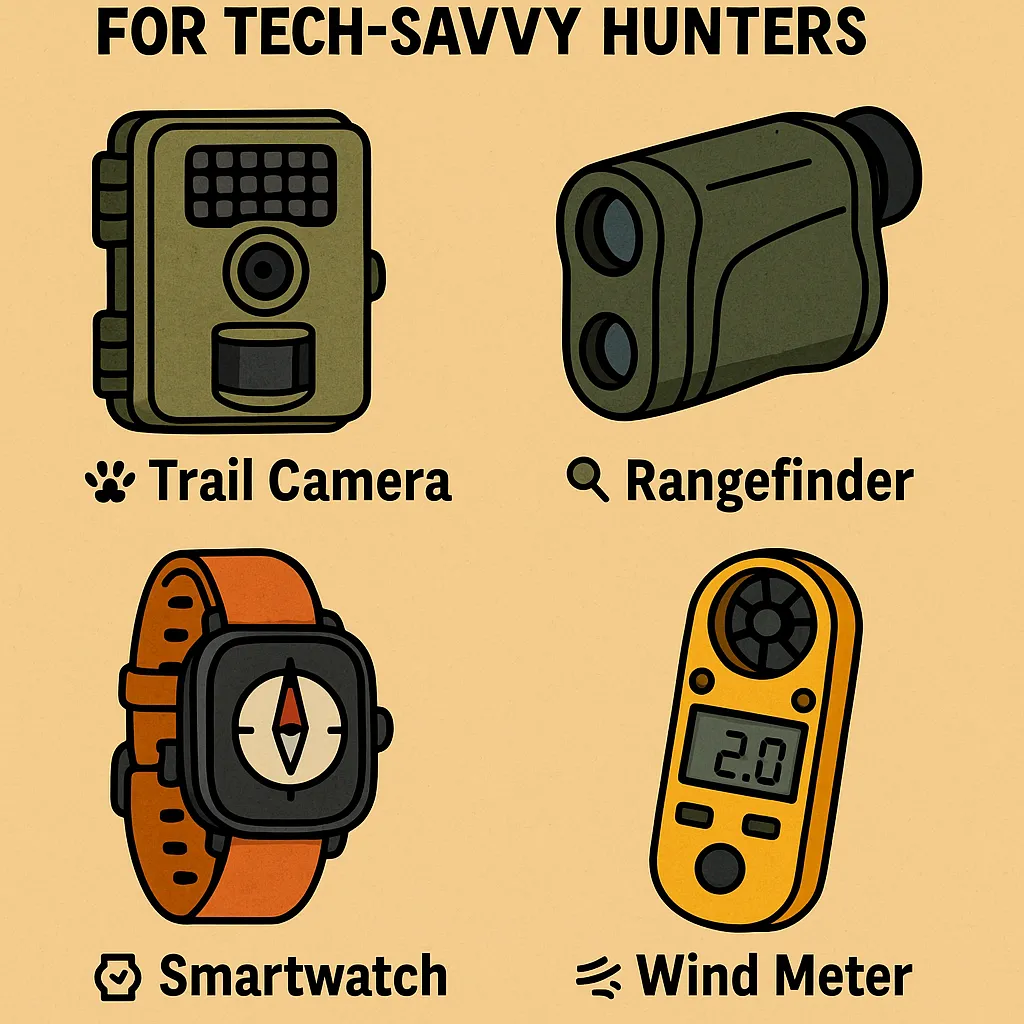
Must-Have Gadgets Under $100 for Tech-Savvy Hunters You don’t need […]

Eco-Friendly & Sustainable Hunting Gear Options in 2025 The modern […]
